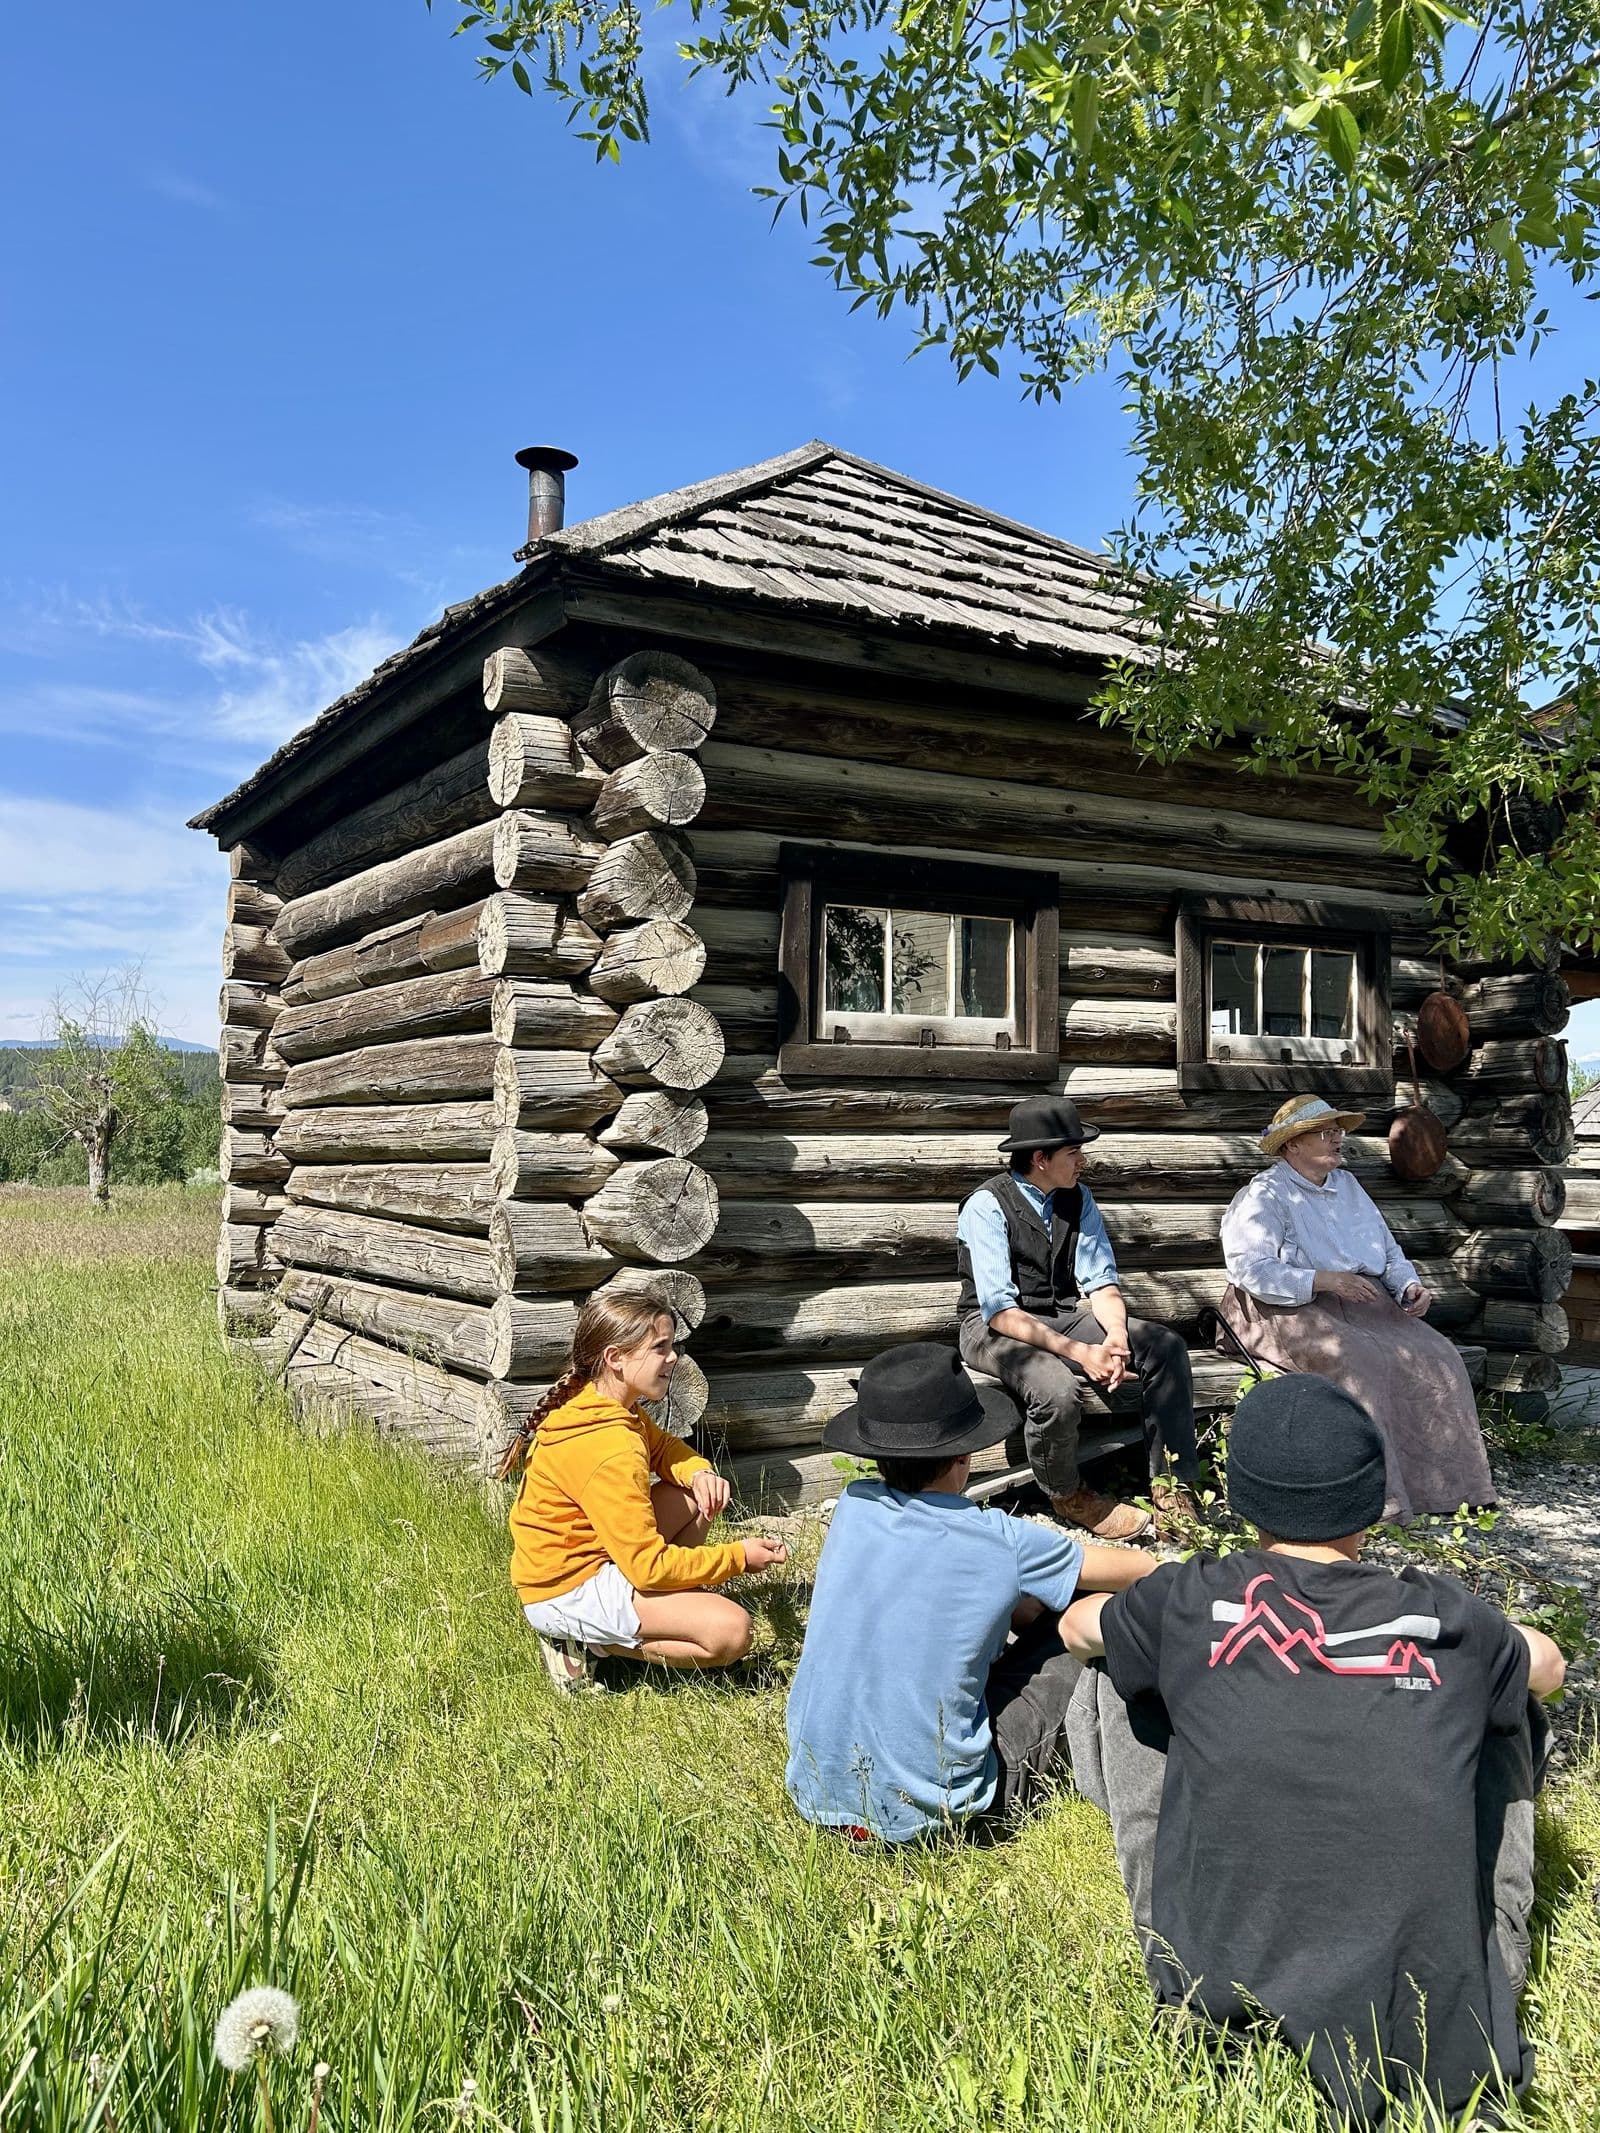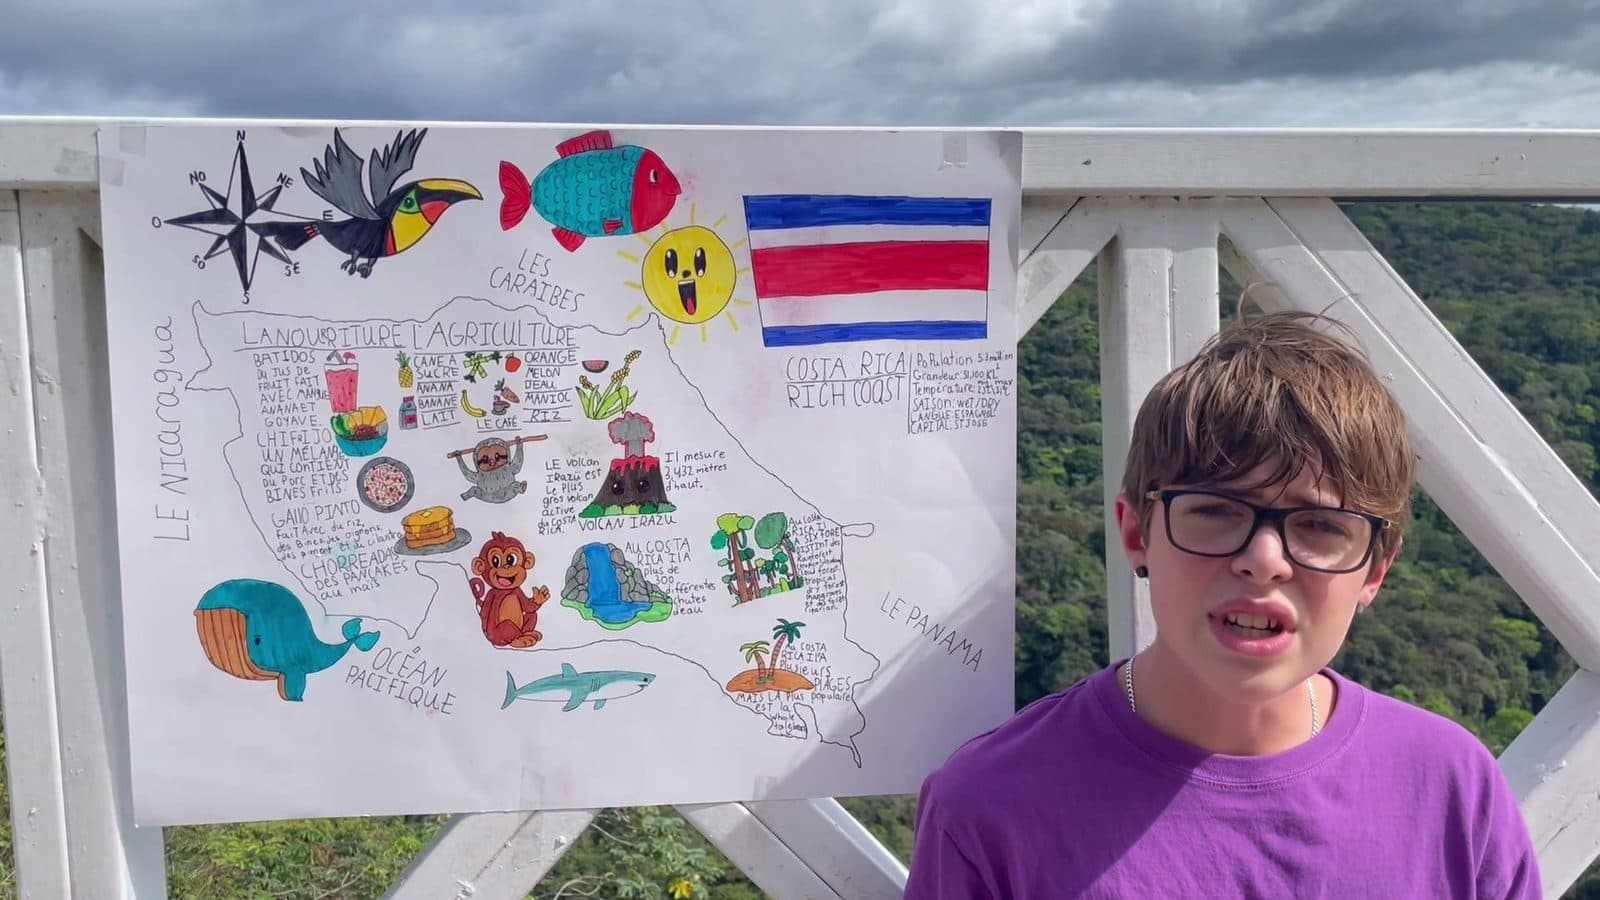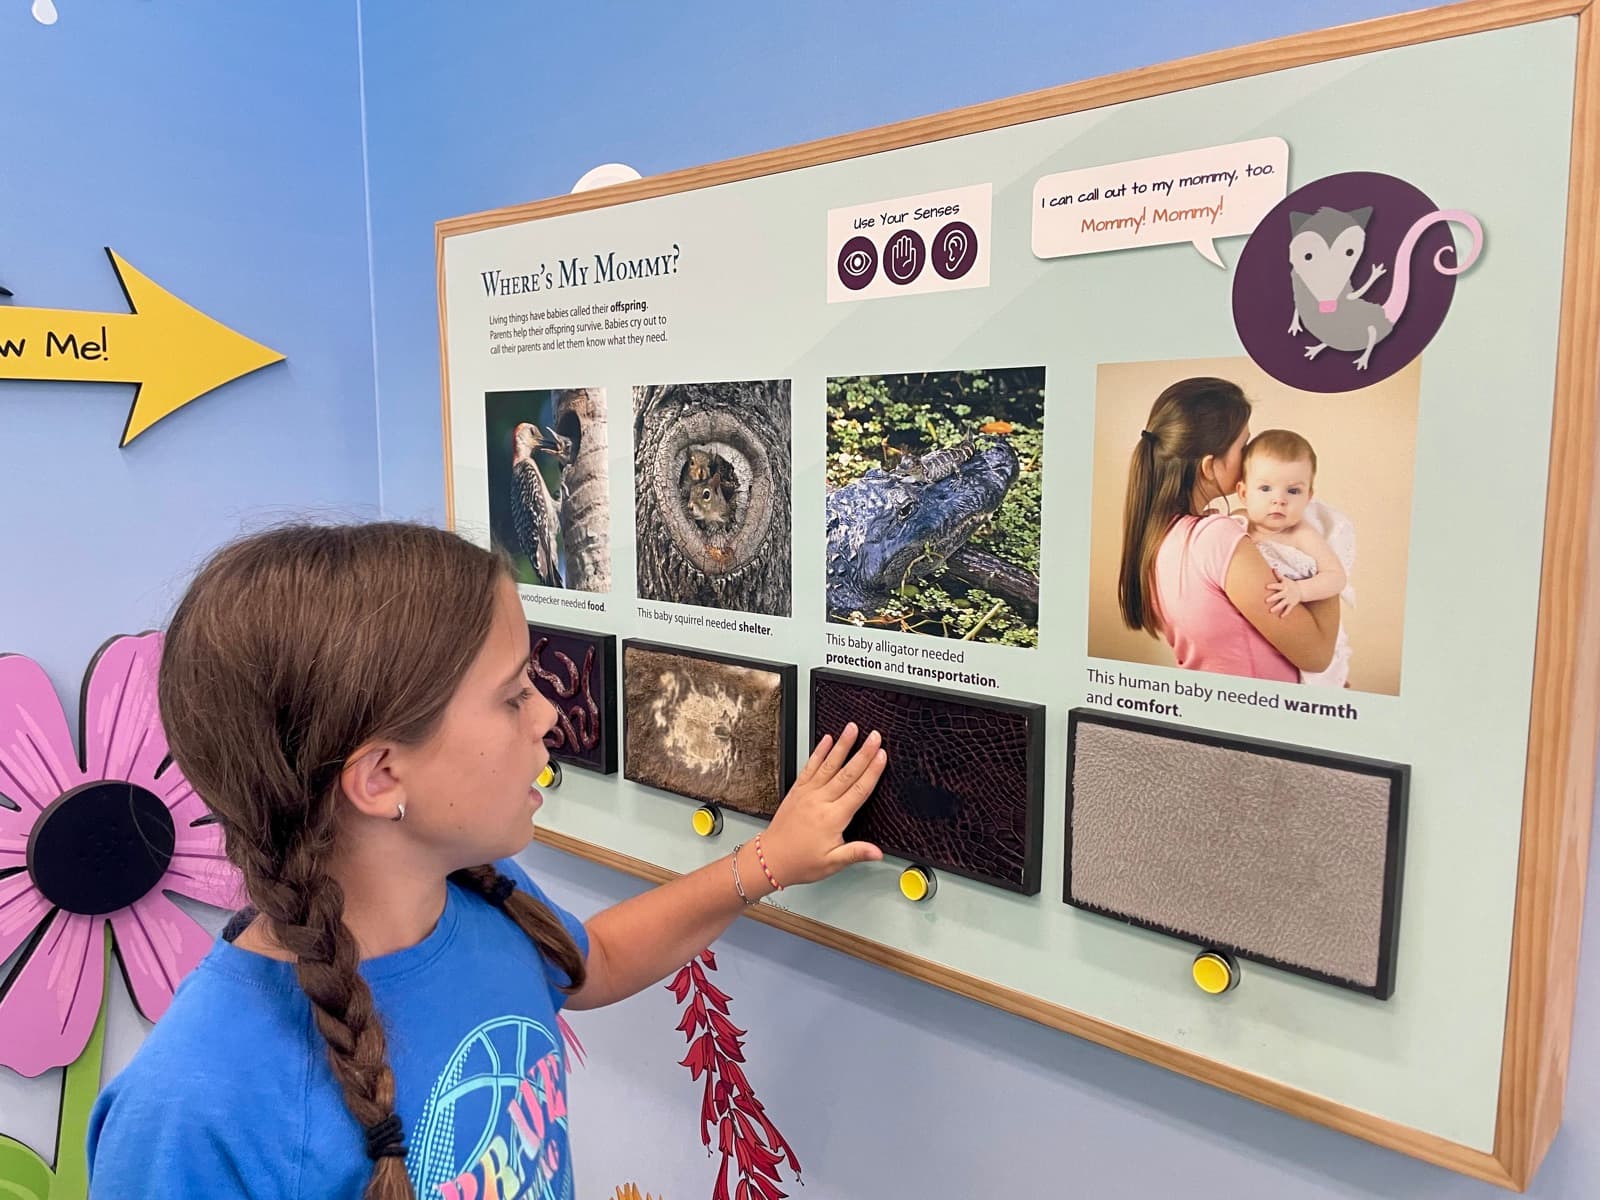
Every kid has a topic. Rocks, one specific dinosaur, a sport, a video game, the family history nobody else finds interesting. They know more about it than anyone in the house, and they will tell you about it for as long as you let them. A home museum takes that and gives it a job: make a stranger understand why this matters, in six objects and six short labels, in a room they can walk through.
That job is what a real curator does. Research the subject, pick what earns a spot, write labels a visitor will actually read, lay out the space so people see things in the right order, and then stand there on opening day and talk about it. Research, writing, design, and public speaking, all in service of something the kid already loves. It is one of the best examples of project-based learning at home I know, and nobody involved calls it school.
This post is the free version: how to run it, what to say at each step, and how to adjust it by age. If you would rather open a guide with the steps, the prompts, and three levels of challenge already laid out, that is the Build a Museum activity in the library. Everything below works without it.
Why a museum exhibit teaches more than a report
A report asks a kid to write down everything they know. An exhibit asks them to decide what matters, which is a harder and more useful question. When there is room for six objects, the seventh has to go, and a kid who has argued with themselves about which rock to cut has done more thinking than a kid who listed all twelve. Then every label has to make sense to someone who knows nothing about the topic, in two sentences, which is the hardest short writing there is.
- Research: finding out what is genuinely worth showing, from books, websites, family interviews, or their own collection.
- Curation: choosing the few pieces that tell the story and leaving out the ones that do not. This is editorial thinking, and most adults never practise it.
- Writing: a title and one or two clear sentences per exhibit. If it does not fit on a sticky note, it is too long.
- Design and spatial reasoning: where visitors enter, what they see first, what the big finish is.
- Presentation: walking a real visitor through the work and answering the question they did not expect.
It is the same stack of skills as a Shark Tank pitch or a board game your kid designs: a real audience, a real deadline, and a kid who cares whether it works. The academics ride along on the thing they wanted to do anyway.
How to create a museum at home, step by step
Six steps. A small version fits in an afternoon; a big one runs a week with an opening on the weekend. Your role the whole way through is the visitor, not the curator. Ask what they want people to learn, help find materials, and keep your hands off the layout.
Step 1: Pick the topic and the angle
Start with what your kid already knows a lot about or wants to know more about. The best museum topics are the ones where they have something to say, not the ones that sound impressive. Then help them find the angle, because "everything about dinosaurs" is not a museum. "The three weirdest dinosaur teeth and what they ate" is a museum. Rocks and minerals, one animal, a sport and its history, how a thing is made, a place they have visited, their own family: all of these work once they are narrowed.
Decide the kind of museum too. A collection museum shows real objects with labels (rocks, shells, coins, LEGO minifigures). An information museum uses posters, diagrams, and facts. An art museum shows their own work with artist statements. An interactive museum has stations where visitors do something. Most kids end up with a mix. Two questions to ask: what do you know about this that most people do not, and if a visitor only remembers one thing from your museum, what should it be?
Step 2: Research and gather
This is where "I like rocks" becomes "here are five rocks that tell a story." Books, websites, a phone call to a grandparent, their own memory, and their own observation all count as research. What they collect can be real objects, printed photos, drawings, maps, a timeline, or facts on index cards. The rule is that every item has to earn its spot.
Research is a rabbit hole. "Find five to eight things you want to include and we start building tomorrow" keeps the project moving. They can always add more after opening day. While they work, ask what surprised them, and which pieces tell the most interesting story.
Step 3: Build the exhibits
Before anything goes on a table, have them sketch a quick layout. Where do visitors enter? What do they see first? What is the big finish? The layout can be one table with everything arranged left to right, a walking path through a hallway, separate stations in different rooms, or an outdoor trail along the porch or the backyard path (nature collections are great outside).
Then build. Each exhibit needs something to look at and something to read. Mount items on cardboard, make small dioramas in shoeboxes, prop posters on chairs, use trays for collections. One thing worth saying out loud: kid eye level and adult eye level are very different. If the visitors are grown-ups, the displays need to sit higher than your kid’s instinct. Help with logistics (which room, which table), and resist redesigning their layout. Ask instead: what should a visitor see first, and why? Which exhibit is the most important one?
Step 4: Write the labels and add something interactive
Labels first. Every exhibit gets a title and one or two sentences: what it is and why it matters. Short is the whole skill. Explaining something complicated in two sentences forces a kid to understand it properly, which is why label writing is secretly the best real-world writing practice in the project. You are the test visitor: read every label, and if you are confused, say so kindly.
Then add at least one thing a visitor can do, not just look at. That is what turns a display into a museum. Ideas that work at home:
- A touch-and-feel station: different textures or weights, eyes closed.
- A quiz or guessing game: "Which rock is the oldest?" with the answer under a flap.
- A magnifying glass station for close-up looking.
- Lift-the-flap facts: sticky notes over the answers.
- A sorting challenge: put these in order.
- A drawing station where visitors sketch what they see.
A good test at this step: if you covered up the label, would someone still understand the exhibit? If not, either the object or the label needs work.
Step 5: Test it and fix it
Walk in like you have never seen it. Read every label. Try every interactive piece. Does it flow? Is anything confusing? Do you know where to go next? Then hand them the checklist: nothing falling over, labels readable from where a visitor would stand, interactive elements that work without explanation, a clear path from start to finish, and a museum name or welcome sign at the entrance. The usual fixes are small: an arrow or a "next" sign, raising a label that is too low, moving exhibits closer together, or taking out the one piece that does not fit the theme.
Step 6: The grand opening
Invite someone who was not involved. Grandparents, neighbours, a friend, or just one person. The point is that a real visitor comes through and experiences it. Your kid can give a guided tour, let people go self-guided with the labels, or mix the two and finish with a highlight tour. Put a guest book near the exit, even if it is a sheet of paper that says "What was your favourite exhibit?" That is real feedback, and kids read it more carefully than any comment a parent makes.
If a visitor asks a question your kid cannot answer, that is not a problem. That is the next exhibit. Take photos of each display, film the curator’s tour if they are up for it, and afterwards ask: which exhibit got the biggest reaction, and what question surprised you?
In the Membership
Build a Museum or Interactive Exhibit
If you want all six steps laid out with the prompts, the checklist, and three levels of challenge (a 3-item table, a multi-section museum, or a full exhibit with a curator’s statement and guided tour), that is the Build a Museum guide for ages 6 to 14. Open it and follow along.
Museum exhibit ideas kids actually pick
If your kid is stuck on a topic, these are the kinds of angles that turn into good exhibits. Notice that each one is narrow. Narrow is what makes it buildable.
- Rocks from our own yard: five rocks, where each was found, and what it says about the ground under the house.
- The history of one sport: three rule changes that made the game what it is today, with a diagram for each.
- Our family: an object from each grandparent and the story behind it, with a timeline on the wall.
- How a thing is made: bread, a pencil, a pair of jeans, laid out as stations from raw material to finished object.
- One animal, properly: what it eats, where it lives, what it is being confused with, and one thing almost nobody knows.
- A place we visited: a map, three photos, one souvenir, and a label for the thing that surprised them most.
- Bugs from the garden: a collection week, drawings if catching is not allowed, and a "guess the bug" flap station.
- A video game or book series as a world: the geography, the characters, and how the rules of that world work. It counts. Curation is curation.
For a kid who lives for maps and invented places, a museum about their own imaginary world is a genuinely good project, because it forces them to explain a thing that only exists in their head to a person who has never been there.
Adapting it by age
Ages 6 to 8
Keep it to three or four items on one table, in a clear order, with a title for each and one interactive element. Research is whatever they already know plus one book. Write the labels together: they say the sentence, you help get it down, they copy it onto the card. The grand opening is one visitor and a short tour. Quick, playful, low pressure. The learning at this age is in deciding what goes first and being brave enough to explain it.
Ages 9 to 11
A multi-section museum with five or six exhibits, a specific angle on the topic, two or three sources, and findings organised into categories. Titles and one or two sentence descriptions on every label, two interactive elements, a welcome sign and directional signs, and a hand-drawn visitor map. Two walk-throughs with fixes in between. Host an opening for two or three visitors with a guest book, and talk about the feedback afterwards.
Ages 12 to 14
Push toward what a real exhibit needs. A one-paragraph curator’s statement explaining why this topic matters. A research notebook with sources and a "Future Research" list of the questions they could not answer. Multiple display formats (flat, 3D, wall-mounted), questions on the labels for visitors to think about, a museum passport stamped at each station, admission tickets or a printed brochure, and a rehearsed curator’s tour. Film a virtual tour for someone who could not come. Then ask them what they would change in a version two on a different topic, and mean it.
What to say while they work (and what not to)
The first setup will look more like a pile than a museum. That is where the learning is. Organising chaos into something a visitor can follow is the whole skill, so let the messy first version exist. When you praise, praise the thinking, not the result: "you figured out that visitors needed to see the small rocks before the big ones so they would notice the difference" does more than "that looks nice." And ask rather than tell. "What do you want people to learn from this exhibit?" beats a list of what to include, every time.
When it is done, pick one or two reflection questions and let them answer properly: What was the hardest part of making exhibits other people could understand? What would you change if you built it again? Did any visitor reaction surprise you? If they want to keep going, a second museum on a completely different topic, a travelling version that fits in a box, a gift shop with handmade bookmarks, or a short documentary about the best exhibit are all natural next steps.
Want this as a free printable? Grab the 26 Creative & Maker Ideas for Kids, free to read, and the printable version lands in your inbox.
A museum is a project with its own motivation built in. The topic is theirs, the visitors are real, and the moment someone reads their label and says "huh, I did not know that" is worth more than any grade. Give them a table, a stack of index cards, and a deadline, and let them show you what they know.
And if you would rather open a guide that walks them through the whole thing, that is what the Anywhere Learning membership is for: real-world, hands-on projects for ages 6 to 14, from museums to business pitches to theme parks, ready to run with nothing to plan the night before.