- 1Following instructions is not engineering
- 2Why LEGO is a near-perfect engineering medium
- 3The framework: a challenge, a constraint, one bin
- 45 beginner challenges (ages 5-7)
- 55 mid-level challenges (ages 8-10)
- 65 advanced challenges (ages 11-14)
- 7The broken bag method for siblings or groups
- 8What about LEGO Mindstorms, Boost, or Spike?
- 9Three common parent mistakes
- 10Frequently asked questions
Walk into almost any house with a kid between five and twelve and you will find LEGO. In a bin, under the couch, in a backpack, mixed in with the recycling. It is probably the most widely owned engineering material on the planet. And almost nobody is using it that way.
Most of the LEGO in our homes gets used one of two ways: kids follow the instructions that came in the box, or they free-play without any particular goal. Both are fine. Neither is engineering. If you want LEGO to do the thing parents keep hoping it will do (teach STEM, build problem-solving, develop spatial thinking), you have to set it up differently. The good news is that the setup is almost embarrassingly simple.
Following instructions is not engineering
I want to say this clearly because it took me a while to see it. When a kid follows a LEGO instruction booklet, they are practicing sequencing, fine motor work, and visual matching. Useful skills, all of them. But they are not designing anything. The decisions have all been made. The kid is essentially assembling a piece of furniture from IKEA.
Engineering happens when there is a problem to solve, a constraint, and no instructions. The kid has to ask: what do I have, what am I trying to make, what is going to hold this together, what happens if it falls over. That is the loop. Define, build, test, fix, build again. You cannot get to that loop from a set of step-by-step pictures.
The shift from following sets to free-building with a goal is the single biggest shift for using LEGO as a STEM material. And the bricks you already own are enough.
Why LEGO is a near-perfect engineering medium
There is a reason engineering schools have actually used LEGO in classrooms for decades. The pieces are modular, which means they snap together in predictable ways. They are reusable, so a failed bridge becomes a successful catapult an hour later. The combinations are basically infinite. And the cost per use, if you already own them, is approximately zero.
Compare that to most other "STEM kits" you can buy. Single-use cardboard. Specialty parts you cannot replace when one breaks. Packaging more elaborate than the project itself. LEGO sidesteps all of that. The pile in your living room is a lifetime engineering supply.
The framework: a challenge, a constraint, one bin
Here is the whole system, and you can use it for every challenge in this post and a hundred more you make up yourself:
- 1Pose a specific challenge with a measurable outcome. Not "build something cool." More like "build a bridge that holds a hardcover book without collapsing."
- 2Set a constraint. The simplest one: only pieces from this one bin. No raiding other sets, no buying more, no asking a sibling for a part.
- 3Step back. Do not suggest, do not correct, do not rescue the build when it falls over. Falling over is the lesson.
- 4When they are done, test it. Did the bridge hold the book? How could it hold two books?
- 5Iterate. The second build is always better than the first, and that is the whole point.
The constraint is what makes this work. Unlimited pieces means no design pressure. A single bin forces trade-offs, which is exactly what real engineers do all day. If you only have three long flat pieces, you have to decide what they are for.
5 beginner challenges (ages 5-7)
These are simple, fast, and forgiving. The point at this age is to get the loop going: build, test, notice what happened, try again. Each one should take 15 to 30 minutes.
- 1Tallest free-standing tower. Must stand on its own for ten seconds without anyone touching it. Bonus round: do it again, taller, after the first one falls.
- 2Bridge that holds a book. Span two stacks of books with a LEGO bridge in the middle. Place a paperback on top. Then a hardcover. Then two.
- 3Car that rolls. Must roll at least one meter on its own after a gentle push. No motors. The wheels-and-axle pieces are the only "specialty" parts you need.
- 4Hopper that releases marbles. Build a chute or funnel that drops marbles, one at a time, into a cup on the floor. Gravity does the work.
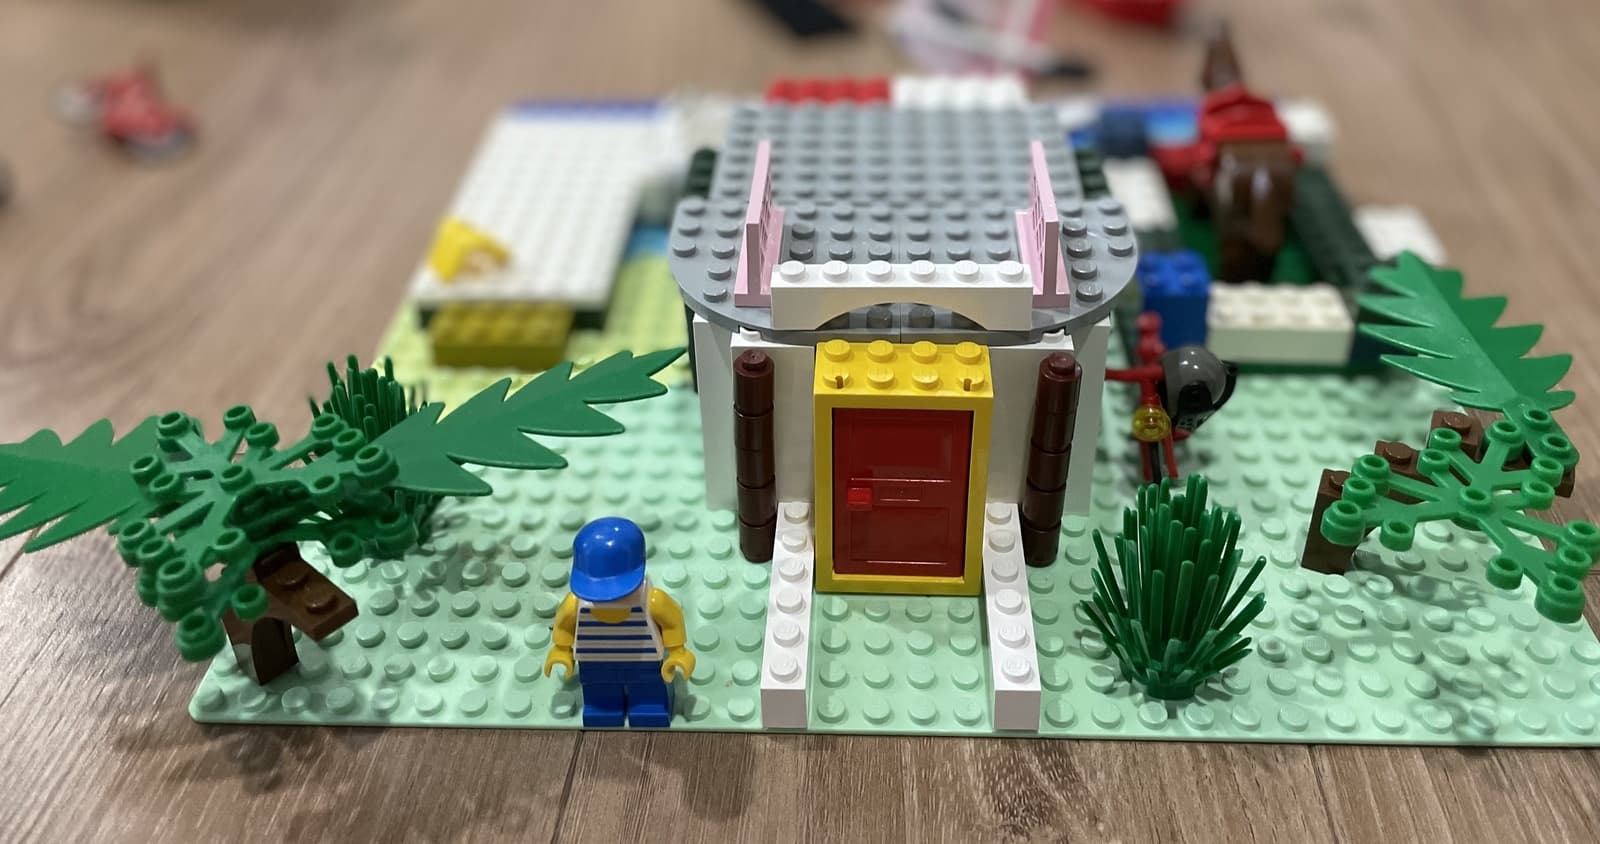
- 5Modular shelter. Build a small house or shelter for a stuffed animal or minifigure that has a door that opens, a roof that stays on, and walls that do not fall in.
5 mid-level challenges (ages 8-10)
Now we introduce moving parts, force, and a target. These take longer (an afternoon, sometimes two) and the failure rate is the point. Do not bail your kid out.
- 1Working catapult that hits a target. Tape a paper plate to the floor three meters away. Build a catapult that launches a small LEGO piece onto the plate. Adjust angle, tension, and arm length.
- 2Weight-bearing chair. Build a chair that holds the weight of a full water bottle without buckling. Then a two-liter bottle. Notice which support structures actually work.
- 3Marble run with three paths. A single marble must be able to take any of three different routes down the run, decided by where you drop it in. This forces planning before building.
- 4Wheeled vehicle with steering. The front wheels must turn left and right with a steering input. This is harder than it sounds and teaches the basics of linkages.
- 5Kinetic sculpture. A build with at least one moving part that loops or spins continuously when you turn a crank or push a lever. Pure physics, no goal beyond motion.
In the Membership
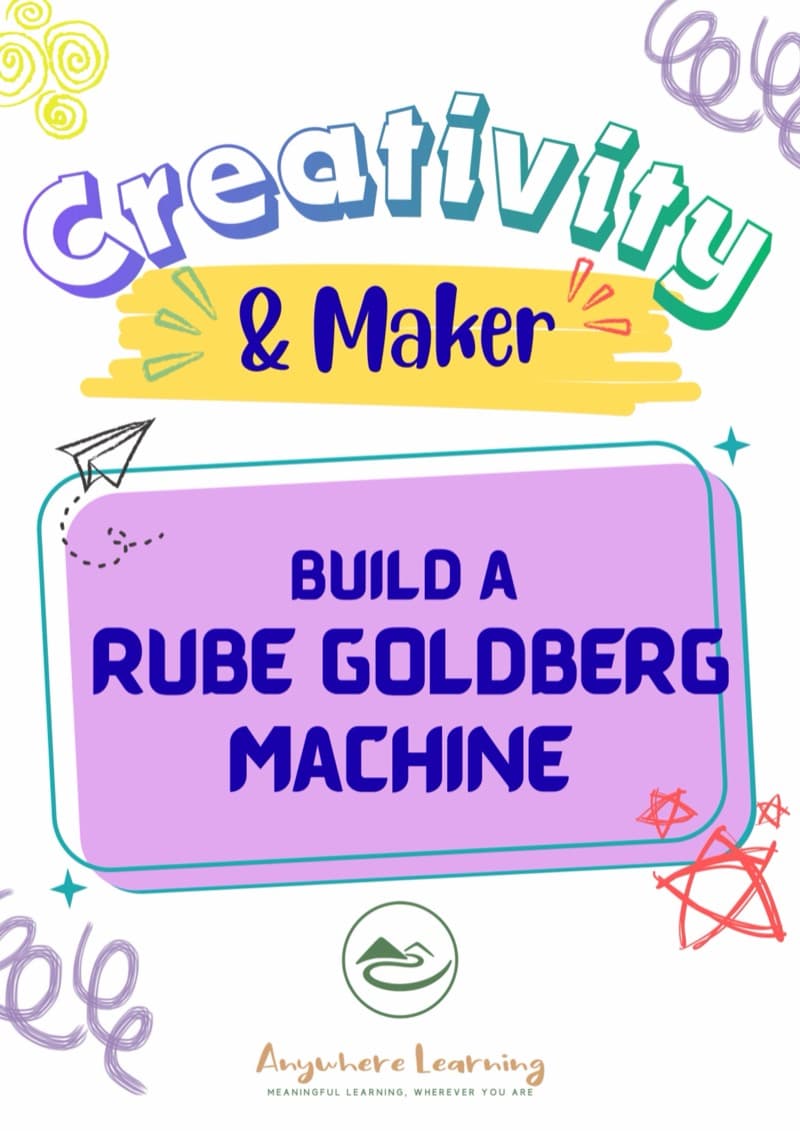
Build a Rube Goldberg Machine
STEM engineering project for kids ages 6-14: build an absurdly complicated machine to do something simple. Design thinking, cause-and-effect, and creativity meet.
5 advanced challenges (ages 11-14)
These are real engineering projects. They take days, sometimes weeks. They teach mechanism design, gear ratios, and the brutal honesty of "it works or it does not." Older kids who think they are too old for LEGO usually change their minds about ten minutes into one of these.
- 1Functional Rube Goldberg machine with five or more steps. A marble triggers a falling block, which knocks over a lever, which releases a car, which rings a bell. Every step must reliably trigger the next. Reliability is the hard part.
- 2Working drawbridge with a lifting mechanism. The bridge must lift via a hand crank or pulley, hold position when lifted, and lower under control. No just yanking it up with your hand.
- 3Vehicle with gear-driven motion. Use LEGO gears to make a vehicle that moves when you turn a crank. Add a gear ratio change so one turn of the crank produces more or fewer wheel turns. Now you have taught mechanical advantage.
- 4Sculpture that responds to wind. A build that visibly moves when you blow on it or set it near a fan. Think weather vane, pinwheel, swinging arm. The challenge is making the motion meaningful, not just floppy.
- 5Programmable mini-build with no electronics. Design a build where the user sets a sequence (which lever to pull first, which path to open) and the machine executes a chain of events based on those choices. This is what programming actually is: logic and sequence, no screen required.
The broken bag method for siblings or groups
If you have more than one kid, or a friend over, try this. Dump every set you own into one giant bin. Mix everything. The instruction booklets get recycled. From now on, this is the bin.
People hate this idea when I describe it. "But the sets!" The sets were going to end up in this bin within a year anyway. You are just speeding up the inevitable, and in exchange you are getting a much better engineering material. A bin of random pieces forces every build to be original, because the kid cannot just rebuild the spaceship from the box.
For collaborative builds, the rule is simple: everyone draws from the same bin, no hoarding pieces. Constraint plus shared resources equals negotiation, trade-offs, and surprisingly grown-up project management. It is one of the better cases of project-based learning you can run in a living room.
What about LEGO Mindstorms, Boost, or Spike?
Short version: if you already own one of the robotics kits, fantastic. Use it. The motors and sensors open up real coding and feedback loops.
But you do not need any of them to do real engineering with LEGO, and I want to push back on the idea that you have to spend three hundred dollars on a kit to "do STEM." Every challenge in this post works with the bricks you already own. Mechanical advantage, structural design, force, motion, iteration: all of that is taught by a pile of regular bricks and a problem to solve. The robotics kits are an add-on, not a prerequisite.
You do not need a kit. You need a constraint. The pile in the corner is already the kit.
Three common parent mistakes
I see these in almost every homeschool family I talk to, including ours when we are not paying attention.
Mistake one: storing the LEGO somewhere kids cannot access it spontaneously. If the bin is in a closet, behind a door, on a high shelf, your kid has to ask permission and wait for setup every time they want to build. Spontaneous engineering dies in that delay. The bin should live where your kid lives.
Mistake two: buying more sets instead of using what is there. We tell ourselves the next set will be the one that gets them building seriously. It will not. The pile you already own has more engineering capacity than any new box. New sets are fine as gifts, but they are not the missing ingredient.
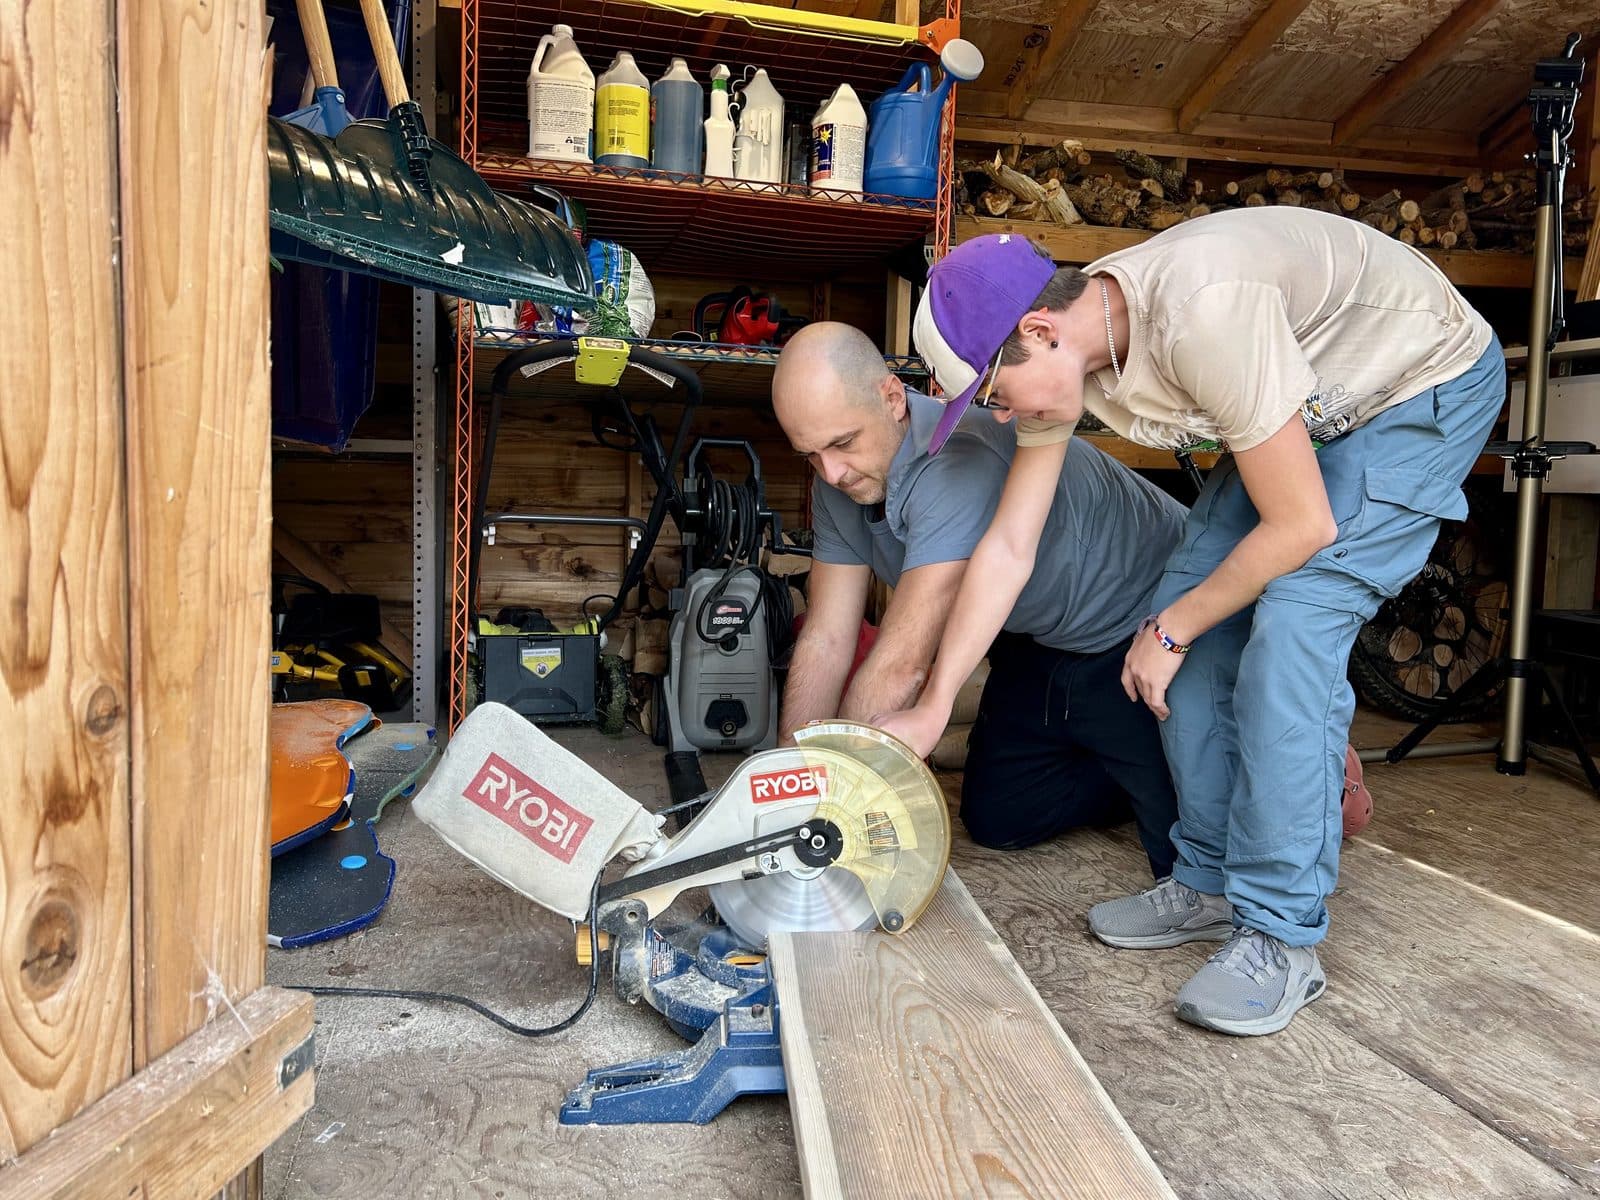
Mistake three: doing the builds with them. This is the hardest one to resist, because it is genuinely fun. But your kid learns the most when they hit a wall and figure out how to get past it without you. Sit nearby. Watch. Ask questions. Do not place pieces. The same rule that makes outdoor STEM challenges work applies here: the kid has to be the engineer, not the assistant.
Dump one bin in the middle of the floor. Tell your kid: "Build a bridge that holds this book." Walk away. Do not check in for 30 minutes. When you come back, ask what is working and what is not. That is the whole activity.
Want more open-ended build challenges your kids can run with on their own? Our free guide has real-world activities for kids ages 5-12. No curriculum, low prep.