Ask a kid what they would put in a theme park and you will not get to finish the question. A roller coaster through a volcano. A water slide that goes into a shark tank (a friendly shark). A snack stand that only sells blue things. They have opinions, they have been planning this for years, and until now nobody handed them a piece of paper and said "fine, build it."
That is the whole project. What makes it more than a drawing is the three questions a real park designer has to answer: where does everything go so people can actually move through it, what does it cost to visit, and does the park make money? Layout is geometry. Prices are arithmetic with stakes. "Would a family of four come back?" is a business question. Kids do all of it, for days, because the volcano coaster needs a ticket price. It is one of my favourite pieces of real-world math because the math is never the point and it happens anyway.
This post is the free version: the six steps, the questions to ask at each one, the math that shows up, and how to size it by age. If you want it laid out as a guide with the prompts and three levels of challenge ready to go, that is the Theme Park activity in the library. Everything below works without it.
The math and skills hiding in a theme park
You do not need to teach any of this. It comes up on its own the moment the park has to work for a visitor. Your job is to be that visitor and ask the questions a visitor would ask.
- Spatial reasoning and scale: fitting rides, food, and paths onto one map, and drawing it so the big coaster takes up more room than the snack stand.
- Area: how much land each zone gets, and what happens to the queue when the thrill zone is too small.
- Pricing and multiplication: a ticket price, a menu, and what a family of four spends on a full day.
- Budgeting and simple profit: ticket revenue plus food sales, minus what the park costs to run. Does it come out ahead?
- Engineering: a ride that stands up, a marble run with a moving part, a course a person can actually walk through.
- Communication: naming things, writing descriptions, giving a tour, and explaining why the food stand is next to the coaster.
It leans on the same decision-making and money skills as a Shark Tank pitch, with more building and a map. The academics and the life skills are the same task, which is the idea behind everything we make.
How to design a theme park with kids, step by step
Six steps. A first version fits in a long afternoon; the full version with pricing and an opening runs across a week. Keep the first version loose. Nobody builds Disneyland on day one, and a few cardboard rides with a hand-drawn map is a great start.
Step 1: Pick the theme and the star attractions
Start with the big idea: what kind of experience do they want visitors to have? Jungle adventure, space station, underwater world, medieval kingdom, dinosaur island, spy academy, pirate cove, enchanted forest, or something entirely invented. Your one job here is to help them commit to a single theme instead of cramming in every idea they have ever had. Then brainstorm three to five star attractions, aiming for variety: something thrilling, something relaxing, something interactive.
Two questions that get them thinking like a designer: what is the one ride people would travel far to see, and what do you want visitors to walk away talking about? Older kids can sort their attractions into "thrill," "chill," and "interactive," give the park a name and a slogan, and write a short backstory for the flagship ride.
Step 2: Design the map
Hand them the biggest piece of paper in the house. Where is the entrance? Where are the big rides? Where do people eat? How do visitors get from one area to another? Encourage them to think in zones, because real parks cluster things: a thrill zone, a kids’ area, a food court. The first map will be too crowded or too spread out. Let them draw it, then walk through it with your finger as a pretend visitor. They will spot the problems themselves.
"If a hundred people walked in at once, where would the traffic jam happen?" is the single best question for this step. It turns a drawing into a layout problem, and kids solve it by widening paths, moving the star ride away from the gate, and adding a second route. That is visitor flow, and it is exactly what the people who design real parks spend their days on.
For older kids, add a legend, at least two routes through the park, visitor-flow arrows, and a "fast pass" route for VIP guests. If they want to go further with scale, one square on the graph paper equals a set number of metres, and the coaster footprint has to be drawn to match. That is the same skill as drawing a room to scale, with a much better reason to do it.
Step 3: Build the park
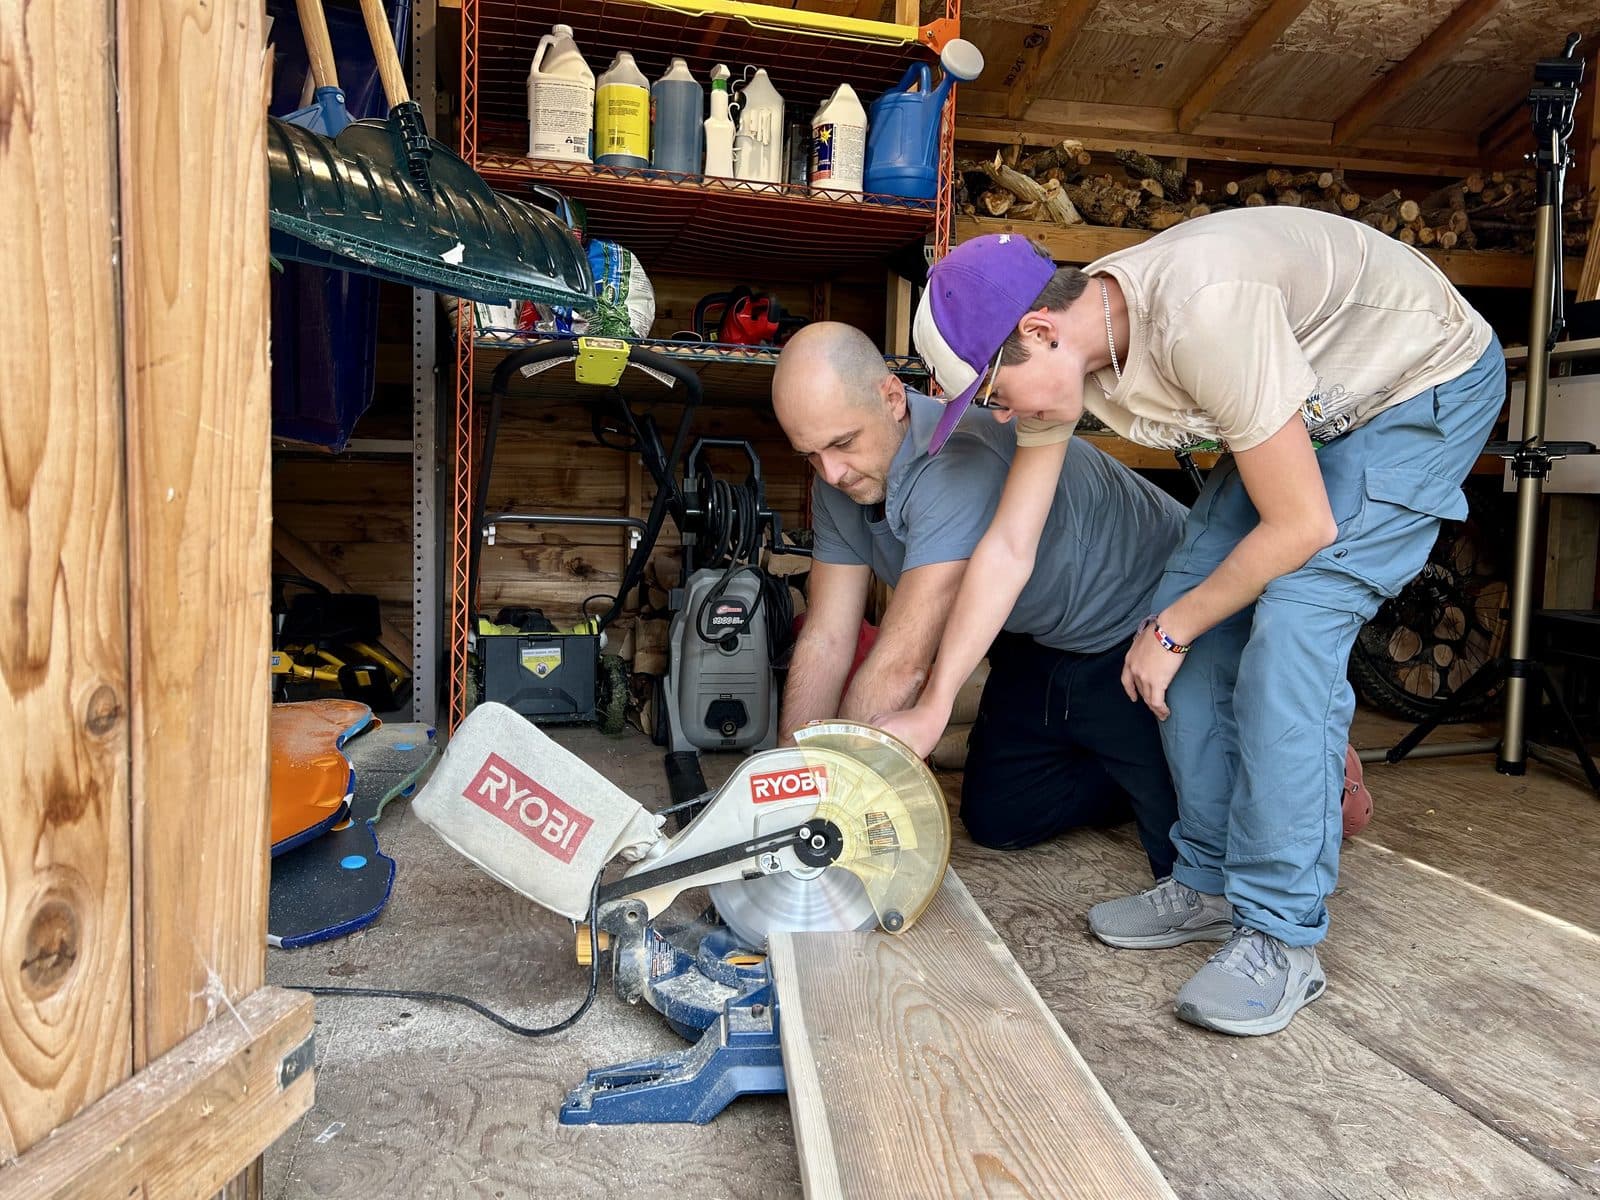
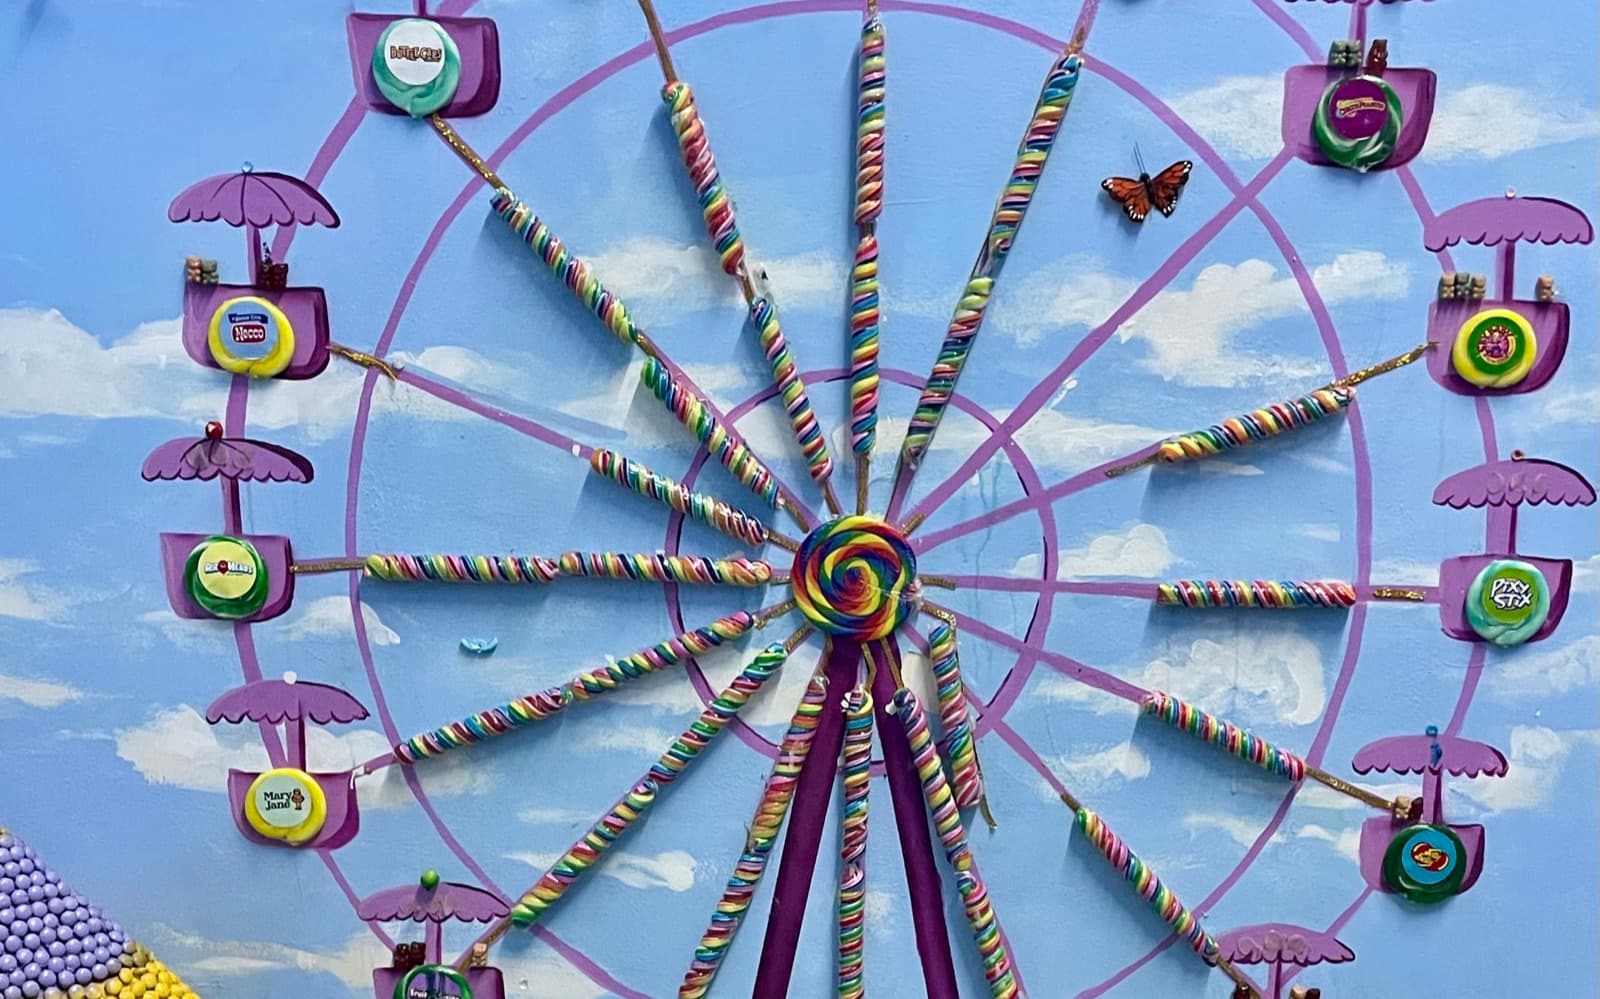
Now the map becomes something real, and there are three good ways to do it. A tabletop model: cardboard boxes for buildings, paper towel rolls for towers, string for zip lines, ramps from folded cardboard, small toys as riders. A drawn park: detailed drawings of each attraction with labels and "blueprints" showing how the ride works. Or a life-size course in the yard: chalk paths, pool noodle tunnels, jump rope zip lines, bucket toss challenges, cone obstacle courses, the whole backyard as a walk-through adventure. This last one is the "adventure course" half of the project and it is the best version for kids who need to move.
Some kids will spend three hours perfecting one ride. Others will slap together five attractions in twenty minutes. Both are fine; the goal is a park someone can actually tour. Help with tricky construction, remind them that working matters more than pretty, and ask: what is the hardest part to build, and how could you simplify it? Does the built version match the map, or did you change things? Older kids can engineer at least one attraction with a moving part: a ramp, a pulley, a spinner, a marble-run feature. That is a small engineering project hiding inside the big one.
Step 4: Add the details that make it real (this is where the math lives)
A collection of rides becomes a place people would visit when it has the details. Start with the essentials: an entrance sign, tickets or wristbands, and a menu for at least one food stand. Then whatever excites them: a gift shop, a mascot, a park safety rules poster, a "coming soon" sign for a future ride.
This step is quietly full of math, and the trick is not to point it out. Just ask visitor questions. "What does a corn dog cost at your park?" "What would a family of four spend for a full day?" Here is what that question turns into, for a park charging $12 a ticket:
- 1Tickets: 4 people at $12 is $48.
- 2Lunch: 4 corn dogs at $4 and 4 drinks at $2 is $16 plus $8, so $24.
- 3One souvenir each from the gift shop at $5: $20.
- 4Total for the day: $48 plus $24 plus $20 is $92.
Then the question that makes them a business owner: is $92 too much? Would a family come back? What happens to the day if the ticket drops to $10? Kids adjust prices, and every adjustment is a fresh multiplication with a reason behind it. For older kids, take it all the way to a day’s profit: if 200 visitors come at $12 a ticket, that is $2,400 in tickets, plus food sales, minus what the park costs to run (staff, electricity for the coaster, corn dog supplies). Does the park make money? If not, what changes: the price, the number of visitors, or the costs? That is the same thinking as a real budget, with a roller coaster in it.
Step 5: Test it with a real visitor
Walk through the park as a guest. Start at the entrance, buy a ticket, follow the paths. Which attraction is the most fun? Which one feels half-finished? Are the signs clear? Be an honest visitor: ask real questions and do not fake enthusiasm for the parts that do not work yet. Your genuine confusion is the best feedback they will get.
Afterwards, sit down together and pick one or two things to improve. Not everything. "If you could only fix one thing before opening day, what would it be?" is the version of this that works. Older kids can make a three-question visitor feedback card, collect answers from two people, and rate each attraction on fun and theme fit, then redesign the weakest one.
Step 6: The grand opening
Your kid runs the show. They greet visitors, hand out maps, explain the attractions, take tickets, and serve the pretend (or real) food. Siblings and friends get roles: ride operator, food stand worker, park photographer. Cut a ribbon. Announce the park name. If it is a life-size course, time each visitor through it and post the results. Even if the whole thing is held together with tape and hope, treating it like a real event gives the project weight, and kids rise to it.
Photograph the park from above, film a "welcome to our park" commercial if they are up for it, and have visitors sign a guest book with their favourite attraction. Then the two questions that turn a fun day into learning: what would you change if you were building a second park, and what was the hardest part of this whole project?
In the Membership
Create a Theme Park or Adventure Course
If you want all six steps laid out with the prompts, the visitor questions, and three levels of challenge (a 3-ride park with a basic map, a zoned park with pricing, or a full design with visitor flow, marketing, and a day’s profit), that is the Theme Park or Adventure Course guide for ages 6 to 14. Open it and follow along.
Adapting it by age
Ages 6 to 8
A simple park with three or four attractions, described in one sentence each, and a basic map with the rides, the paths, and an entrance, everything labelled. Build or draw three attractions that are recognisable, not fancy. Make an entrance sign, three tickets, and a menu for one food stand with round prices ($2 corn dog, $1 drink). Open the park for one visitor, give the tour, and ask what was fun and what was confusing. The backyard course version is perfect at this age. Minimal writing, maximum building.
Ages 9 to 11
A park with five named attractions sorted into thrill, chill, and interactive, themed zones on the map with a legend and two routes through it, and a built version that matches the layout. Add a gift shop, staff name tags, a park rules poster, and prices for everything, then work out what a family of four spends on a day. Two improvements after a feedback card from two visitors. Host an opening with tickets, a map handout, and at least two guests.
Ages 12 to 14
The full design. A park identity with a name, slogan, and flagship attraction with a backstory. Visitor-flow arrows and a fast-pass route on the map. At least one engineered attraction with a moving part. Then the business side: ticket revenue, food sales, running costs, and whether the park turns a profit in a day, with the price changes it would take if it does not. Rate every attraction and redesign the weakest. Finish with a ribbon cutting, a "Season 2" expansion idea, and a short park commercial. A tween who has argued their ticket price against a family’s budget has done a unit of real-world business math and will not describe it that way.
What to say while they work
You are the park visitor, not the park designer. "What kind of park would you want to visit?" beats "you should make a water park." When you praise, praise the thinking, not the neatness: "you moved the food stand closer to the coaster because you noticed visitors would be hungry after" does more than "nice drawing." And when the map is a mess, resist fixing it. Walk it with your finger and let them find the problems.
When the park is open, pick one or two reflection questions and let them answer properly: what was the biggest problem you solved? If a real investor gave you money to build one part of your park for real, which part would you pick? What did you learn about how spaces work from designing the layout? If they want to keep going, a "Season 2" expansion with a new themed zone, a companion water park, zoo, or museum next door, a brochure to market the park, or turning the backyard course into a timed challenge to beat their own record are all natural next steps.
Want more real-world projects like this one, where the math and the life skills happen in the same task? Our free guide has a week of them you can run at home with almost no prep.
A theme park is a project kids have been waiting to be assigned. The theme is theirs, the visitors are real, and the moment they realise the ticket price decides whether anyone comes is the moment the math stops being math. Hand them the paper, the cardboard, and the family budget, and let them show you what a good park looks like.
And if you would rather open a guide that walks them through the whole thing, that is what the Anywhere Learning membership is for: real-world, hands-on projects for ages 6 to 14, from theme parks to museums to business pitches, ready to run with nothing to plan the night before.