If you ask a kid to invent an animal, it will probably have wings, horns, fur, gills and laser eyes, and it will be able to beat everything else alive. I love that animal. It’s also a great place to start a real biology project, because from there you only need one question: how does that help it survive?
Once you ask that, your kid starts thinking the way a biologist does. The big ears have to do something. The bright colour has to be a message to someone. The creature has to eat, so it has to catch something, and something else is probably trying to catch it. Then they get to build it with their hands and make it a home that makes sense.
This post covers what the project is, the rules that make it work and how it runs from start to finish. If you want to run it with your kid, the Creature Habitat activity in the library has the questions to ask at every step, the cards to work from and three levels of challenge ready to go.
Start by showing them one real animal
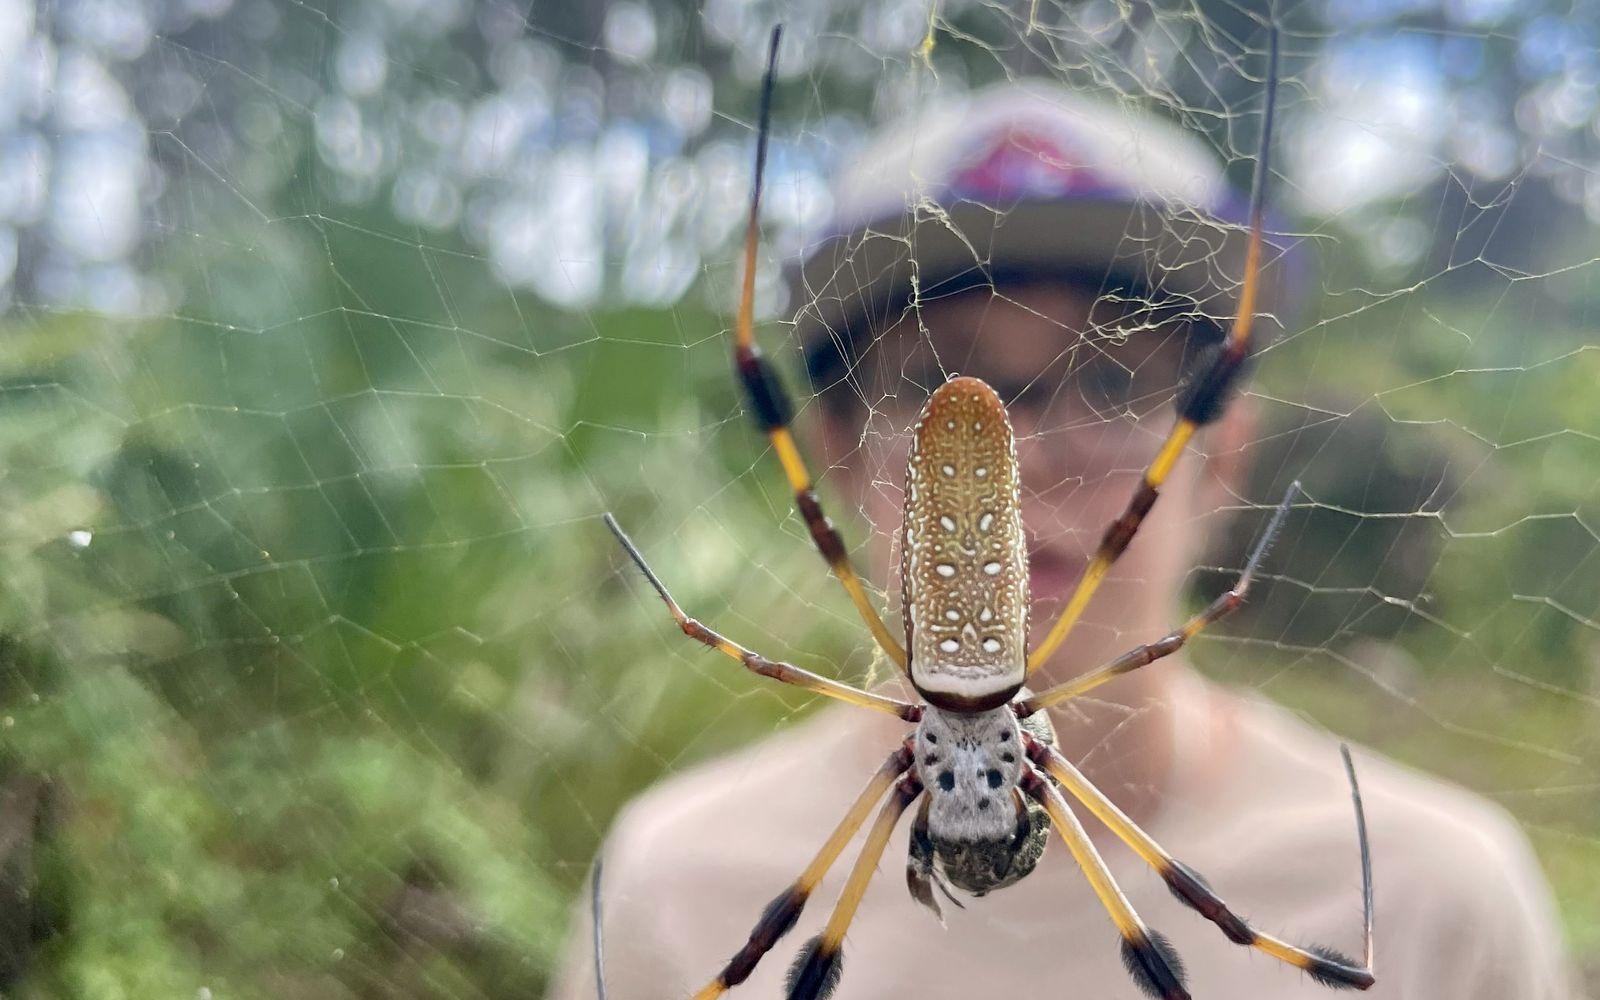
The spider in the photo at the top is a golden silk orb-weaver. We came across it on a walk in Delray Beach, Florida, and my son stood behind the web for the picture.
It’s a great animal to show a kid before they start, because so much about it has a job. The females are among the biggest spiders in North America, tarantulas aside, and their webs can be one to two metres across. The silk really is yellow. Researchers have found that yellow webs catch certain bees more often than webs of other colours, and in the shade the yellow seems to blend in with the leaves.
It has a problem too. Tiny silvery spiders, only 3 or 4 millimetres long, move into its web and steal food. That’s what you want from your kid’s creature: a trick that works, and a problem that comes with being alive.
What your kid is learning while they do this
You don’t need to teach any of this first. It comes up on its own as soon as you start asking what each part is for.
- Biology: adaptations, camouflage, warning colours, predators and prey, and how a food chain fits together.
- Reasoning: giving a reason for every choice, and changing the design when the reason doesn’t hold up.
- Art and making: drawing the creature, then turning a flat sketch into something that stands up.
- Writing: a field guide page that a stranger could use to identify the animal.
- Speaking: explaining a discovery to someone and answering their questions about it.
The four rules that make it work
These are the only rules. They’re what turn a fun drawing into a biology project, and kids tend to like having them because they make the creature feel more real.
- 1Every feature has a job.
- 2Every creature has a weakness.
- 3The habitat fits the body.
- 4It eats something, and something eats it.
Rule one usually gets rid of the laser eyes. Whatever is left has a reason to be there, and your kid can tell you what it is.
How to design your own creature with kids, step by step
This works well over three short sessions: invent it and work out how it survives, build it and its home, then present it. It also fits into one long afternoon. Sit down and do it with them. Make your own creature if you want to, because kids love finding the weak spot in yours.
Step 1: Invent the creature
Your kid sketches an animal that has never existed, decides what it’s covered in and how big it is, then gives it a name and a personality. If they’re stuck, real animals are the best place to look. Have them mix two and change it until it’s theirs. If they start with a dragon, that’s completely fine.
Step 2: Work out how it survives
They figure out what it eats, what it does when something bigger shows up, and what its weakness is. Go through the drawing together and point at each part. If a feature can’t answer "how does this help it survive?", it either gets a job or it goes.
Step 3: Build it
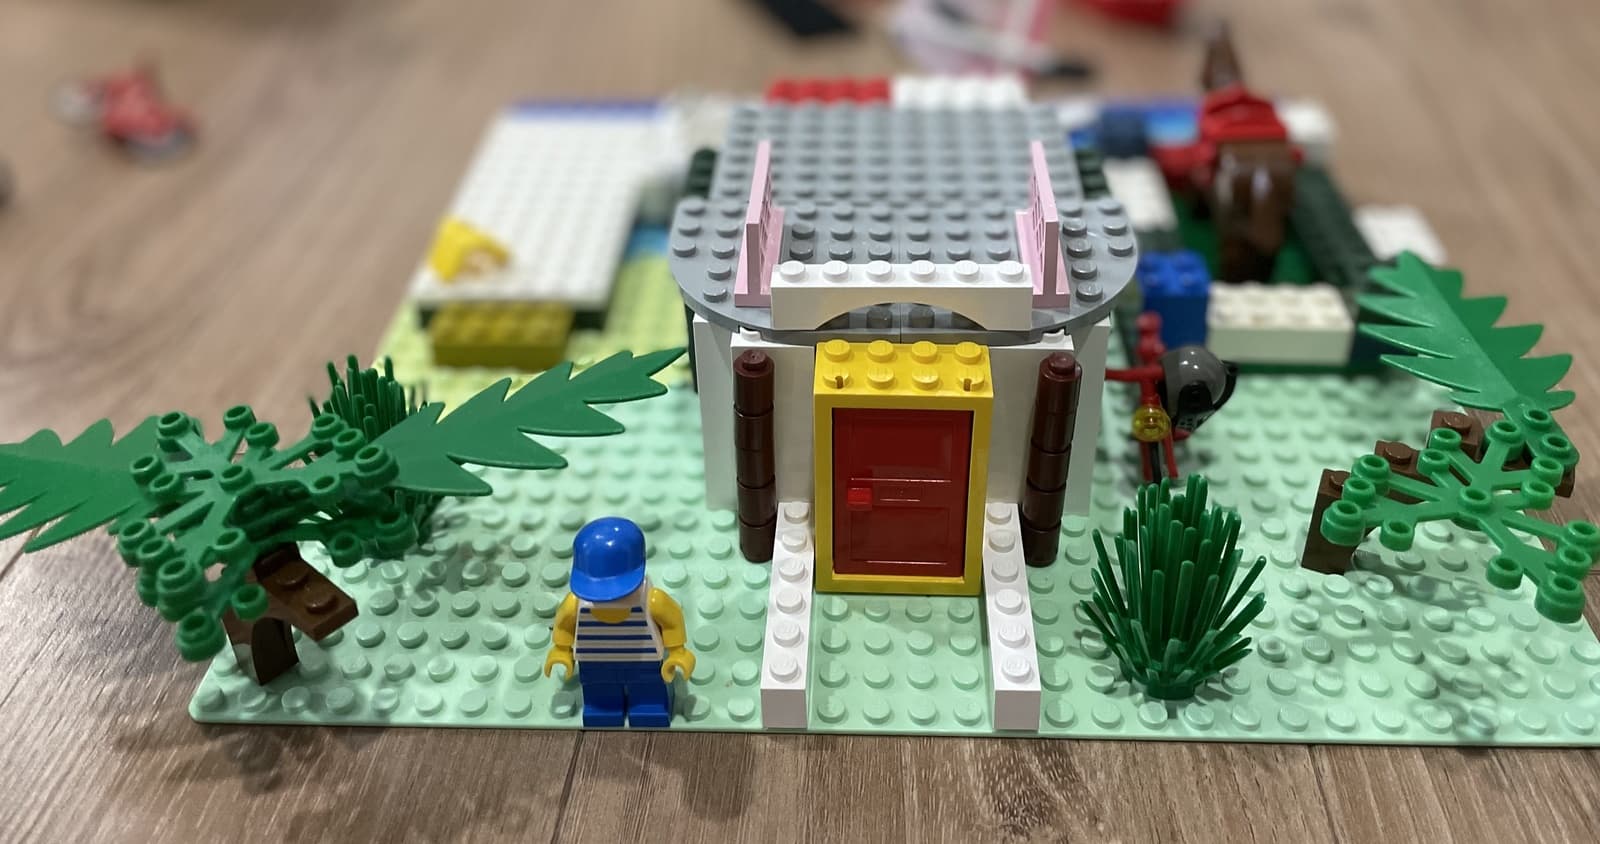
Use what you have: clay or playdough, cardboard, tape, or sticks and bark if you’re outside. They probably can’t build every detail, so they have to choose which features matter most. That choice is part of the thinking.
Step 4: Build its habitat
Your kid decides exactly where the creature lives, then builds it in a shoebox or outside in a real spot. This is where the design gets tested. Thick white fur doesn’t make much sense on a tropical beach, so either the fur or the beach has to change.
Step 5: Make the field guide page and reveal it
Your kid makes a page as if they’d just discovered a new species, then sets the creature in its habitat and presents it to someone. If they love this part, building a museum exhibit at home uses the same skills.
In the Membership
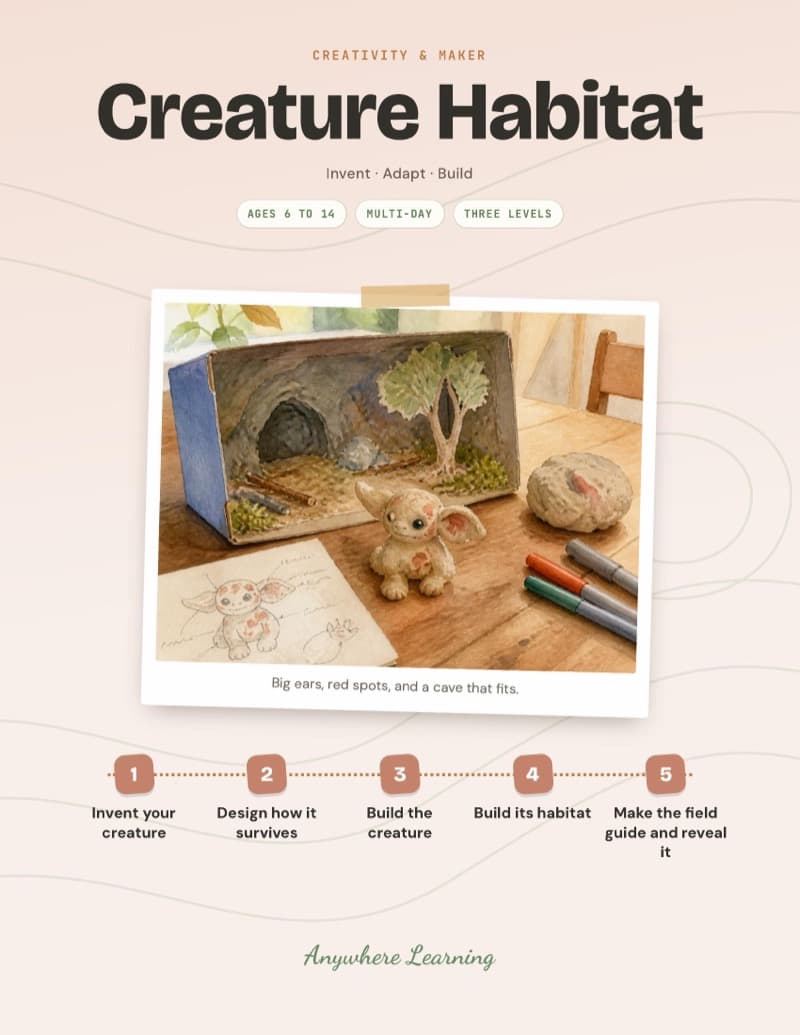
Create a Creature + Build Its Habitat
The guide is how you actually run this with your kid: the questions to ask at every step, the Real Animal Tricks, Body Part Jobs and Habitat Match cards, a field guide checklist and three levels of challenge for ages 6 to 14. Open it and follow along.
Real animal tricks your kid can borrow
A few real ones to get them going. Read them out loud before they start working on how their creature survives.
- Owl: comb-like edges on its wing feathers are part of what makes it so quiet in the air.
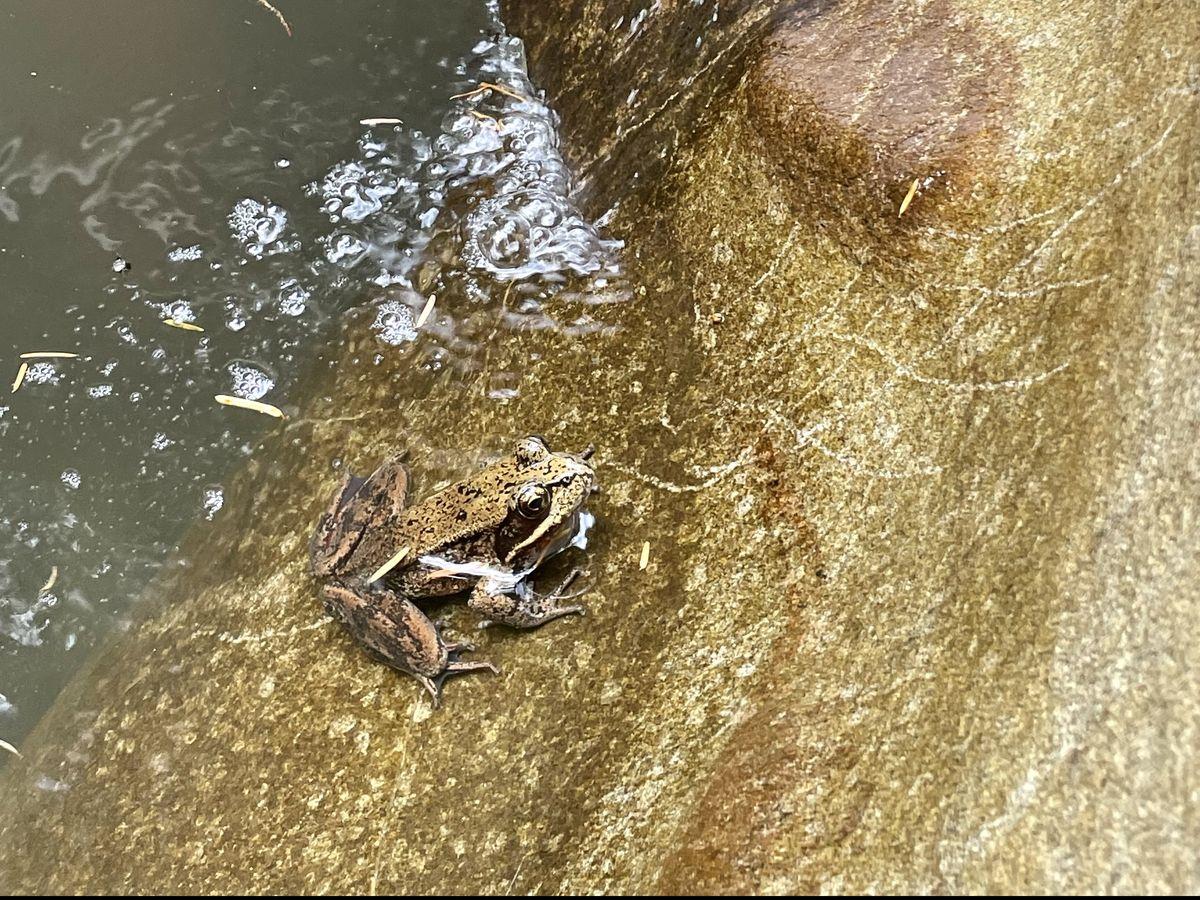
- Wood frog: much of its body freezes over the winter and its heart stops. Sugar in its body protects its cells until it thaws in spring.
- Tortoise: its shell is joined to its ribs and spine, so it can never step out of it. It’s great armour, and it has to carry that armour everywhere it goes.
How it changes by age
The project works from about 6 to 14, and the steps stay the same. Younger kids draw, name and build, and you write down what they tell you. Older kids reason through every feature, fill in the field guide themselves and can take the biology a lot further.
Take the question outside
The best part comes after the project. Once your kid has spent a few days asking "what is that for?" about an animal they invented, they start asking it about real ones. You can help it along on your next walk. This nature walk checklist for kids has plenty to look for, and our backyard science experiments keep the same kind of questions going at home.
Want this as a free printable? Grab the 26 Creative & Maker Ideas for Kids, free to read, and the printable version lands in your inbox.